MH-FMD
Passive buzzer module.
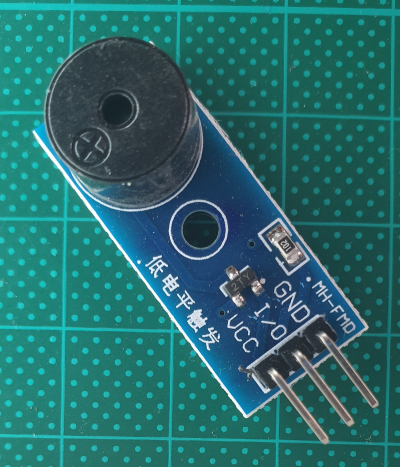
This passive buzzer module has no oscillation source. it needs a square wave frequency 2KHz to 5KHz to drive.
- Input voltage: 3.3V to 5V DC
- Type: passive
Example: Buzzer + LED + Sensor
Now that we know how to produce a sound using the piezo buzzer, let’s take it a step further by producing a sound only when a sensor is triggered, and turning on an LED at the same time.
For this project, we will use an infrared sensor, but any sensor will do. I'm using the HW-201 infrared (IR) obstacle sensor module.
Here is the breadboard circuit:
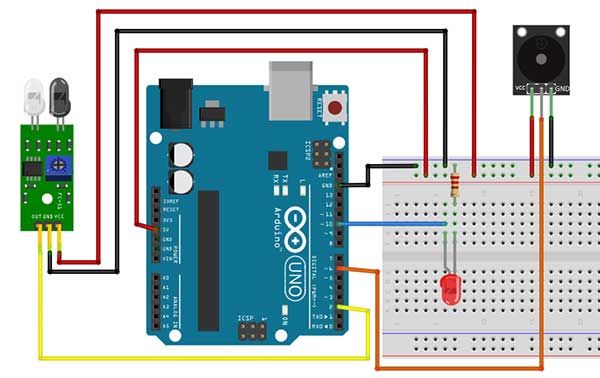
Since there is only one 5V pin on the Arduino board and both the sensor and the piezo buzzer use the 5V, we will connect one jumper wire from the 5V pin of the Arduino to one of the power rails of the breadboard. This way, the entire power rail becomes the 5V.
Now, let’s take a look at the code.
int led = 10; //LED
int ir = 2; //ir sensor
int buzzer=6; //piezo buzzer
int val=0;

void setup() {
  pinMode(led, OUTPUT);
  pinMode(buzzer, OUTPUT);
  pinMode(ir,INPUT);
}

void loop() {

  val=digitalRead(ir);
  if (val==1){ //object is detected
      digitalWrite(led,HIGH);
      tone(buzzer,2000,500); //produce sound for 500 milliseconds
      //add a "quiet" time of 500 milliseconds
      delay(1000);
   }
   else{ //no object detected
      digitalWrite(led,LOW);
  }
}
First, we declared variables for infrared sensor, piezo buzzer, and LED. We also added a variable val to hold the value of our sensor, which is either 1 or 0.
In the setup, the buzzer and LED are set up as OUTPUT while the sensor is an INPUT.
Now we go to the loop function.
First, we read the sensor by writing the digitalRead() function.
val=digitalRead(ir);
The result is then saved to the val variable.
After getting the value of the sensor, we now test if it was triggered or not. For this, we need the if-else statement.
    if (val==1){ //object is detected
    digitalWrite(led,HIGH);
    tone(buzzer,2000,500); //produce sound for 500 milliseconds
    //add a "quiet" time of 500 milliseconds
    delay(1000);
 }
This part here assumes that when the sensor is triggered, the result is 1, otherwise, the result is a 0. In some sensors, this could be the other way around, so just adjust the condition if needed.
Document