|
|
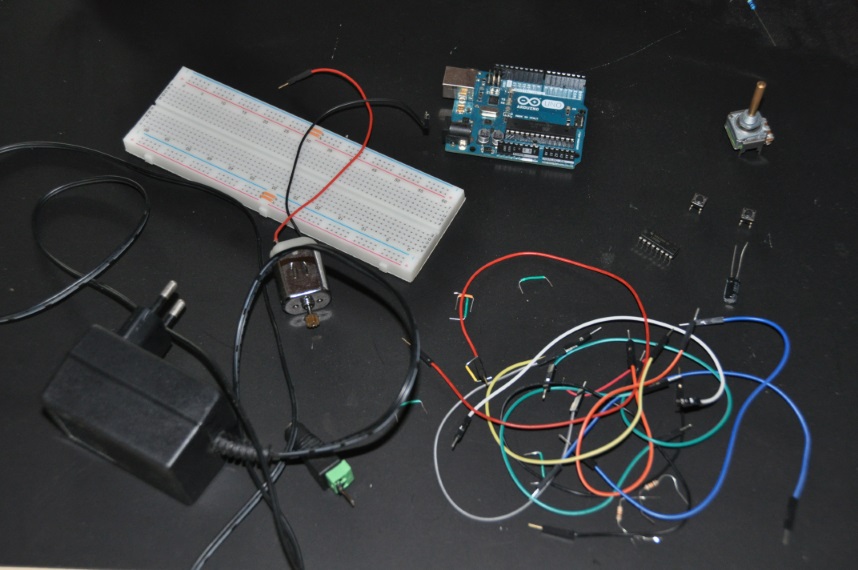
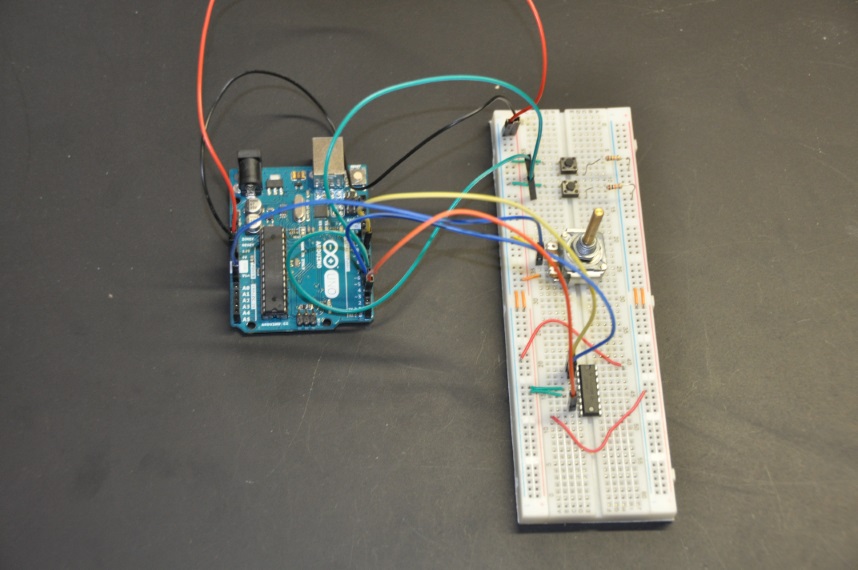
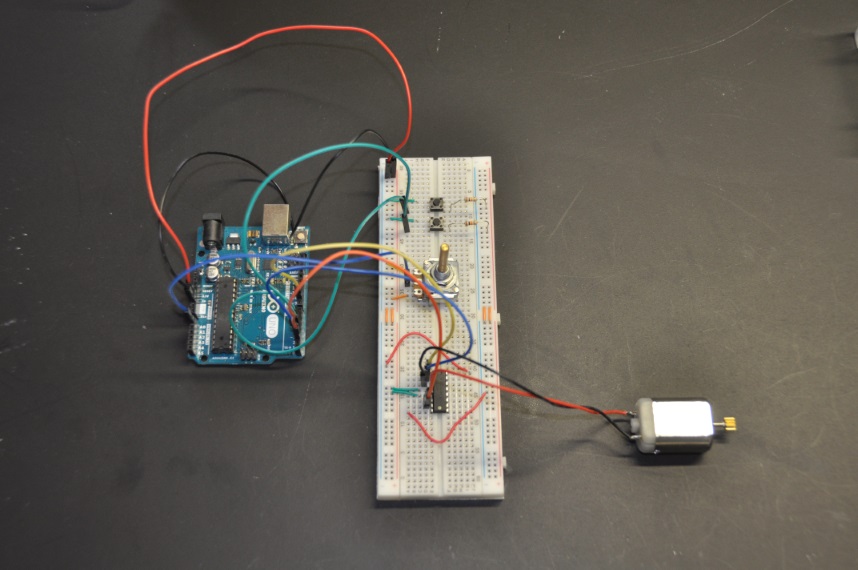
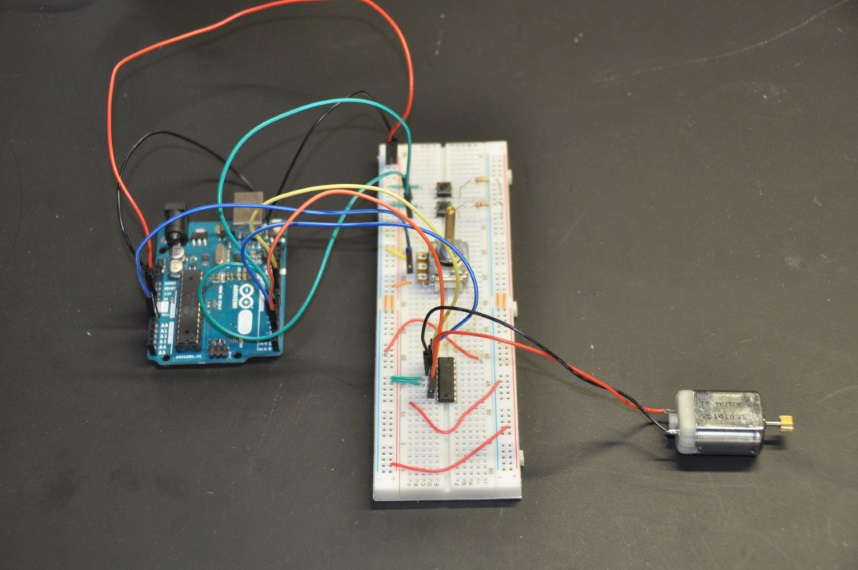
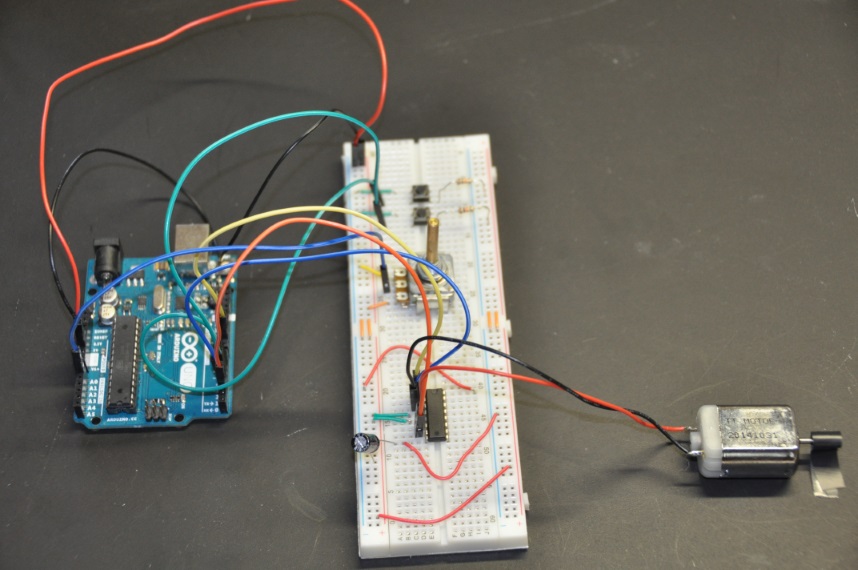
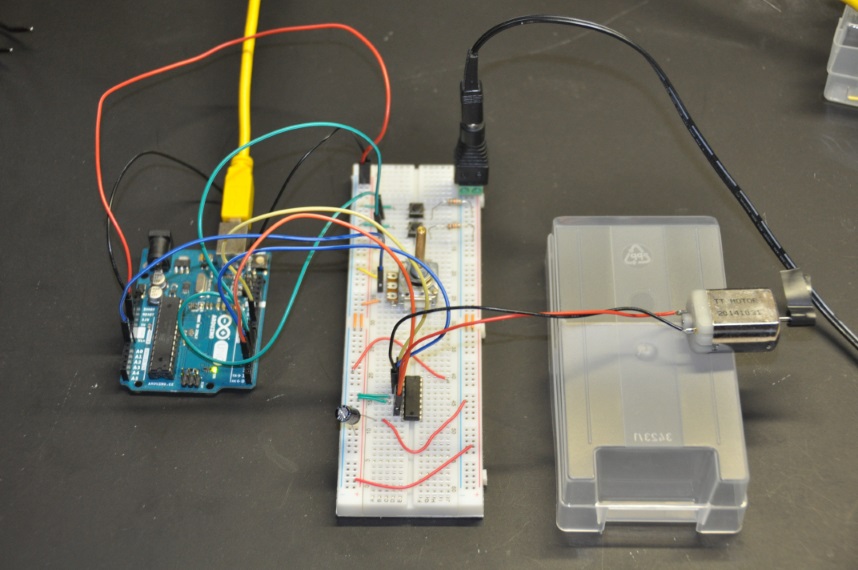
4. Motoraansturing met een IC L2930NE
| Arduino Uno |
 |
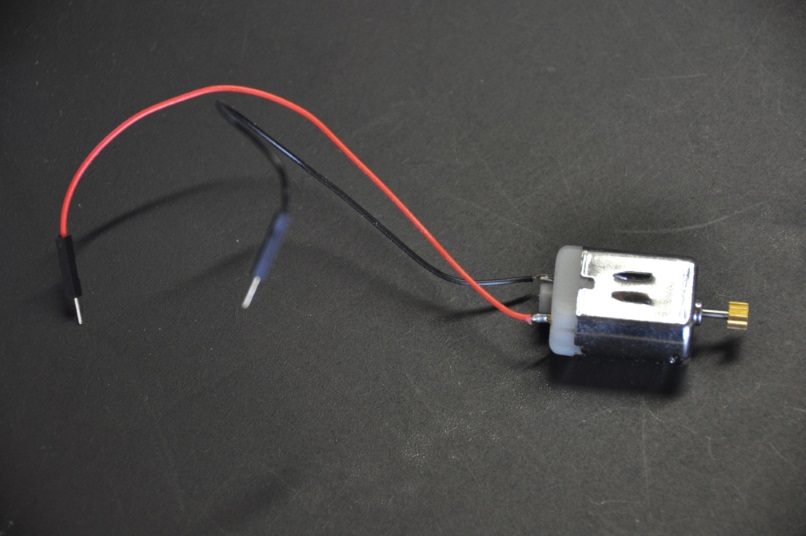
| Moter |
 |
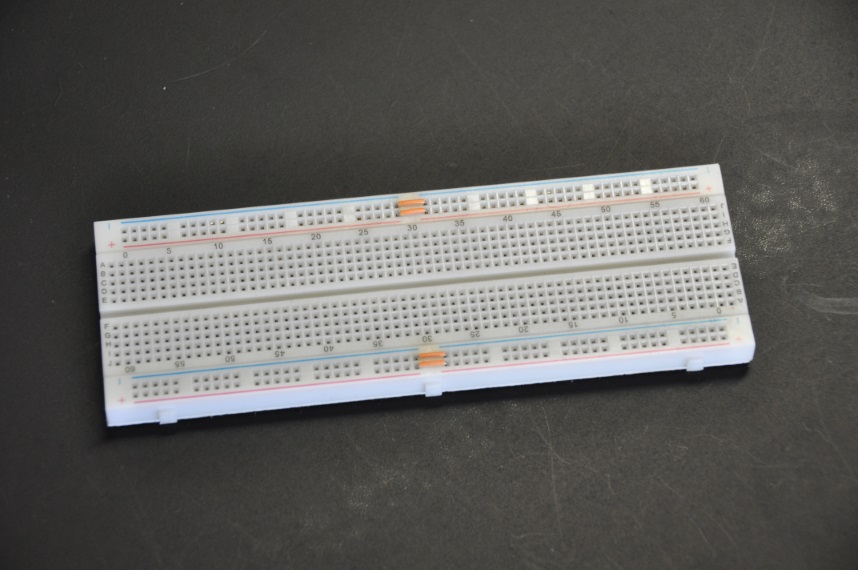
Breadboard
De draadbruggen zorgen ervoor dat de twee helften van het breadboard de + en - zijn voorzien met aarde en 9V |
 |
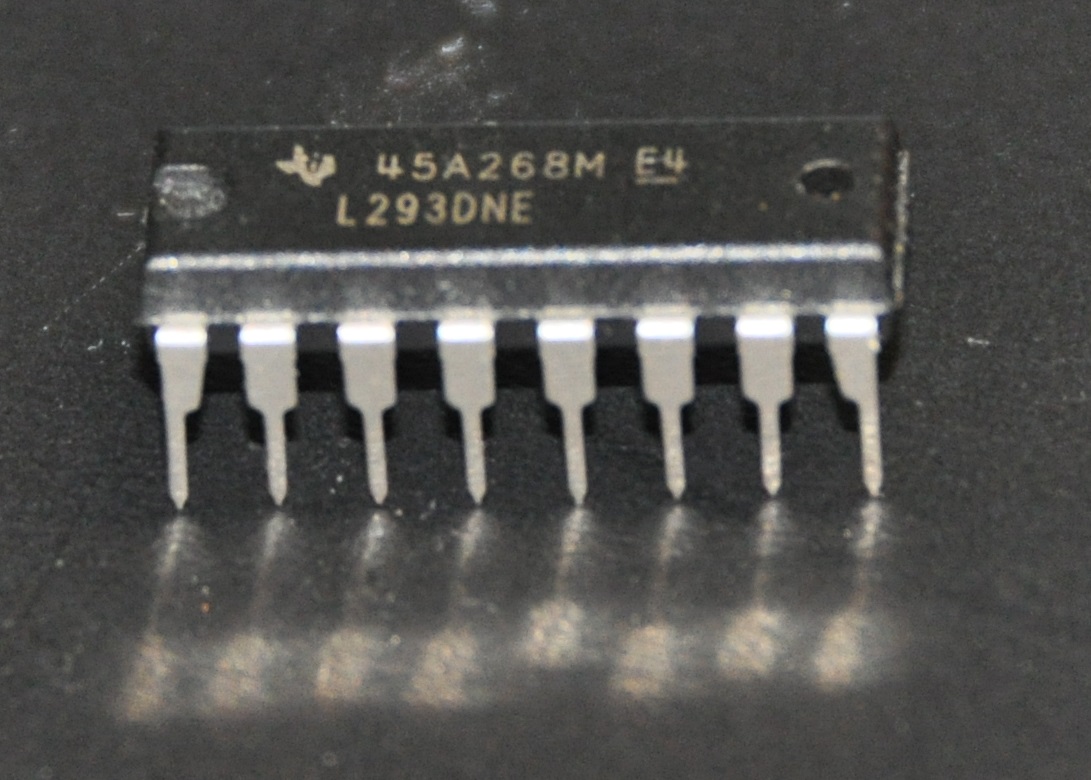
L2930ne

L293D is een monolithische geïntegreerde , hoogspanning , hoge stroom , 4 -channel motor driver.
In principe betekent dit dat u deze chip kun je gelijkstroom motoren en voedingen gebruiken van 4.5 V tot 36 V en de chip kan een maximale stroom van 600mA per kanaal leveren.
Pin 1 (1,2EN) enables and disables our motor whether it is give HIGH or LOW
Pin 2 (1A) is a logic pin for our motor (input is either HIGH or LOW)
Pin 3 (1Y) is for one of the motor terminals
Pin 4-5 are for ground
Pin 6 (2Y) is for the other motor terminal
Pin 7 (2A) is a logic pin for our motor (input is either HIGH or LOW)
Pin 8 (VCC2) is the power supply for our motor, this should be given the rated voltage of your motor
Pin 9-11 are unconnected as you are only using one motor in this lab
Pin 12-13 are for ground
Pin 14-15 are unconnected
Pin 16 (VCC1) is connected to 5V
|
 |
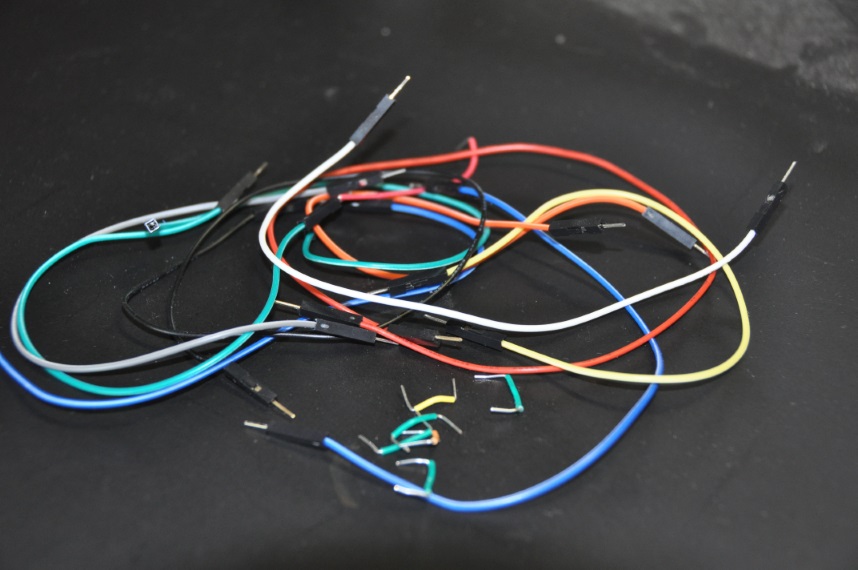
| Breadboard jumper kabels |
 |
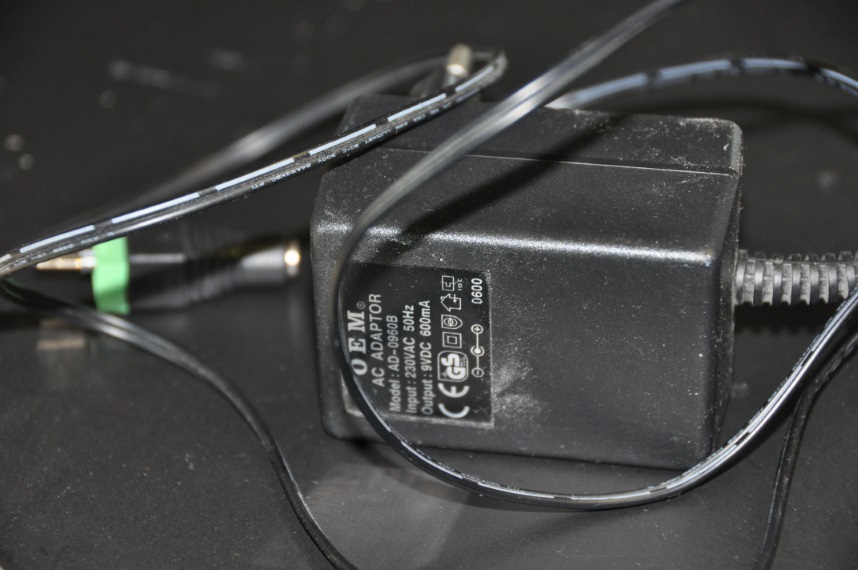
| 9V DC Adaptor |
 |
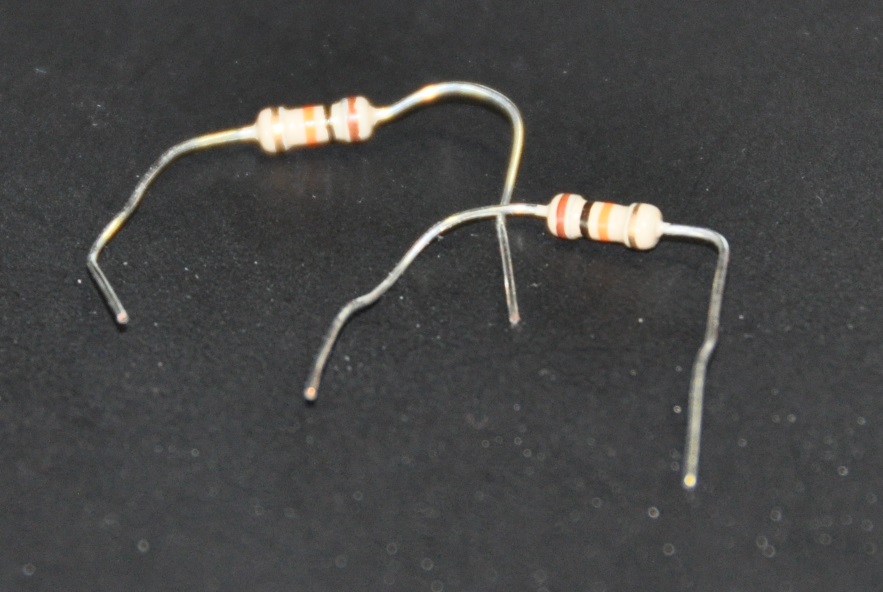
| Weerstand 10 kilo Ohm |
 |
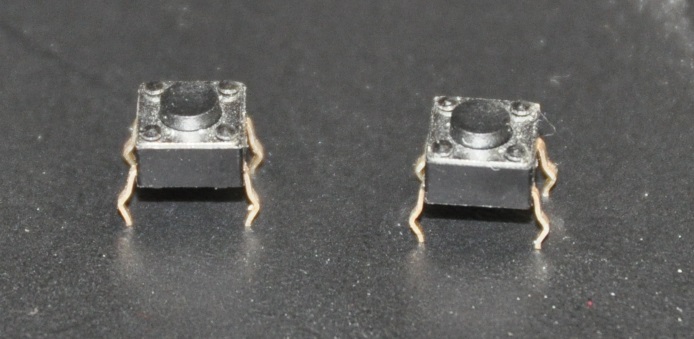
| Switch |
 |
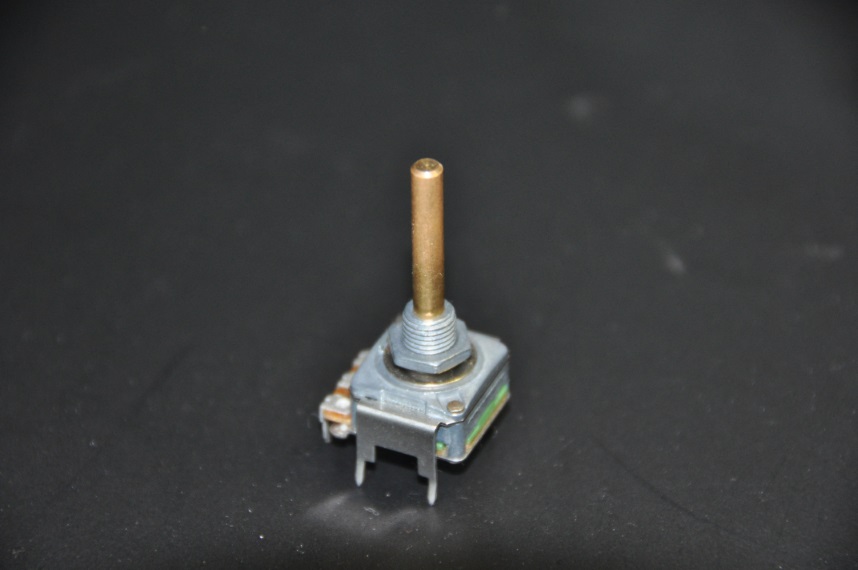
Potmeter
Een potmeter is een variabele weerstand, waarvan de weerstand wordt bepaald door de stand van een mechanisch beweegbare component. Men onderscheidt tussen de schuifpotentiometer, waarvan de weerstandswaarde varieert als men een onderdeel ervan verschuift, en de 'gewone' draaipotentiometer, waarbij dit gebeurt door aan een onderdeel ervan te draaien.
|
 |
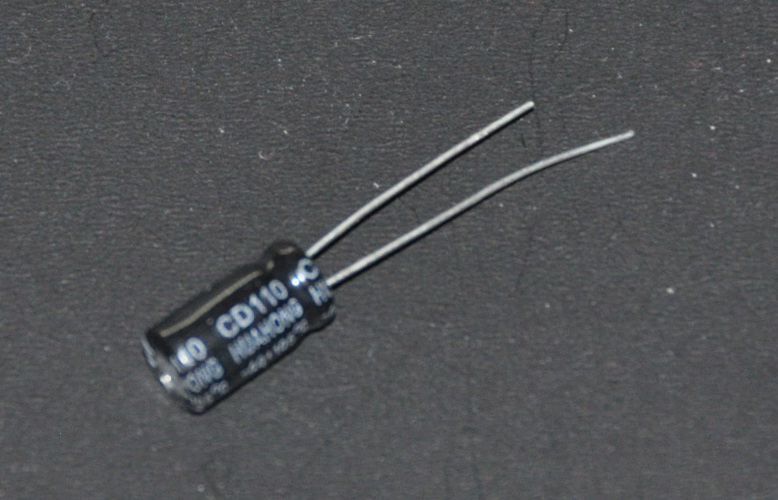
Condensator
10 – 100uF |
 |
Bouwen
| 01. Connect power en ground tusesen arduino en breadboard |
 |
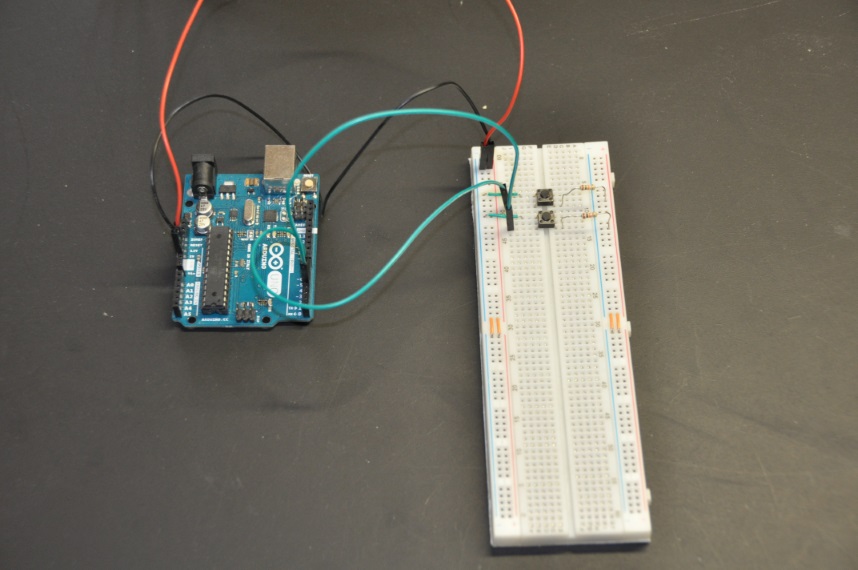
02. Connect switches
Switch 1: Linksboven <=> 5v, linksonder <=> digitale pin 5, rechtsonder <=> weerstand <=> ground
Switch 2: Linksboven <=> 5v, linksonder <=> digitale pin 4, rechtsonder <=> weerstand <=> ground
|
 |
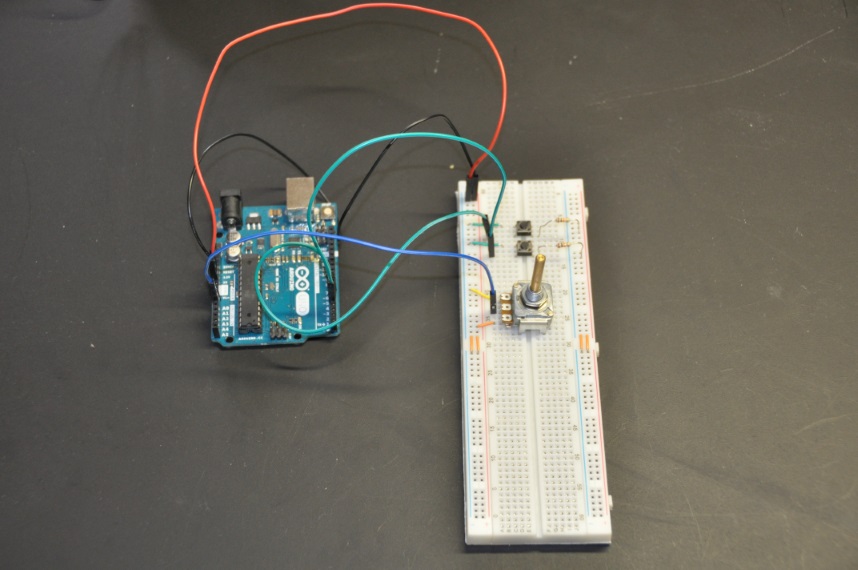
03. Potmeter
Bovenste pin <=> 5v
Middelste pin <=> Analoog A0
Onderste pin <=> ground
|
 |
04. L2930ne
Pin 1. Digitaal 9
Pin 2. Digitaal 3
Pin 4. Ground
Pin 5. Ground
Pin 7. Digital 2
Pin 8. 9V
Pin 16. 5V
|
 |
05. Motor
L293 Pin 3 <=> -
L293 Pin 6 <=> +
|
 |
| 06. Ground links <=> Ground rechts |
 |
07. Condensator
L293 Pin 8 <=> Condensator <=> Ground
De condensator zal de spanning-dips die zich voordoen wanneer de motor ingeschakeld wordt, voorkomen.
|
 |
| 08. Stroom |
 |
Code
const int controlPin1 = 2; // connected to pin 7 on the H-bridge
const int controlPin2 = 3; // connected to pin 2 on the H-bridge
const int enablePin = 9;   // connected to pin 1 on the H-bridge
const int directionSwitchPin = 4;  // connected to the switch for direction
const int onOffSwitchStateSwitchPin = 5; // connected to the switch for turning the motor on and off
const int potPin = A0;  // connected to the potentiometer's output

// create some variables to hold values from your inputs
int onOffSwitchState = 0;  // current state of the On/Off switch
int previousOnOffSwitchState = 0; // previous position of the on/off switch
int directionSwitchState = 0;  // current state of the direction switch
int previousDirectionSwitchState = 0;  // previous state of the direction switch

int motorEnabled = 0; // Turns the motor on/off
int motorSpeed = 0; // speed of the motor
int motorDirection = 1; // current direction of the motor

void setup(){
  // intialize the inputs and outputs
  pinMode(directionSwitchPin, INPUT);
  pinMode(onOffSwitchStateSwitchPin, INPUT);
  pinMode(controlPin1, OUTPUT);
  pinMode(controlPin2, OUTPUT);
  pinMode(enablePin, OUTPUT);

  // pull the enable pin LOW to start
  digitalWrite(enablePin, LOW);
}

void loop(){
  // read the value of the on/off switch
  onOffSwitchState = digitalRead(onOffSwitchStateSwitchPin);
  delay(1);

  // read the value of the direction switch
  directionSwitchState = digitalRead(directionSwitchPin);

  // read the value of the pot and divide by 4 to get
  // a value that can be used for PWM
  motorSpeed = analogRead(potPin)/4;

  // if the on/off button changed state since the last loop()
  if(onOffSwitchState != previousOnOffSwitchState){
    // change the value of motorEnabled if pressed
    if(onOffSwitchState == HIGH){
      motorEnabled = !motorEnabled;
    }
  }

  // if the direction button changed state since the last loop()
  if (directionSwitchState != previousDirectionSwitchState) {
    // change the value of motorDirection if pressed
    if (directionSwitchState == HIGH) {
      motorDirection = !motorDirection;
    }
  }

  // change the direction the motor spins by talking
  // to the control pins on the H-Bridge
  if (motorDirection == 1) {
    digitalWrite(controlPin1, HIGH);
    digitalWrite(controlPin2, LOW);
  }
  else {
    digitalWrite(controlPin1, LOW);
    digitalWrite(controlPin2, HIGH);
  }

  // if the motor is supposed to be on
  if (motorEnabled == 1) {
    // PWM the enable pin to vary the speed
    analogWrite(enablePin, motorSpeed);
  }
  else { // if the motor is not supposed to be on
    //turn the motor off
    analogWrite(enablePin, 0);
  }
  // save the current On/Offswitch state as the previous
  previousDirectionSwitchState = directionSwitchState;
  // save the current switch state as the previous
  previousOnOffSwitchState = onOffSwitchState;
}
ref: Arduino starterkit, itp.nyu.edu
|